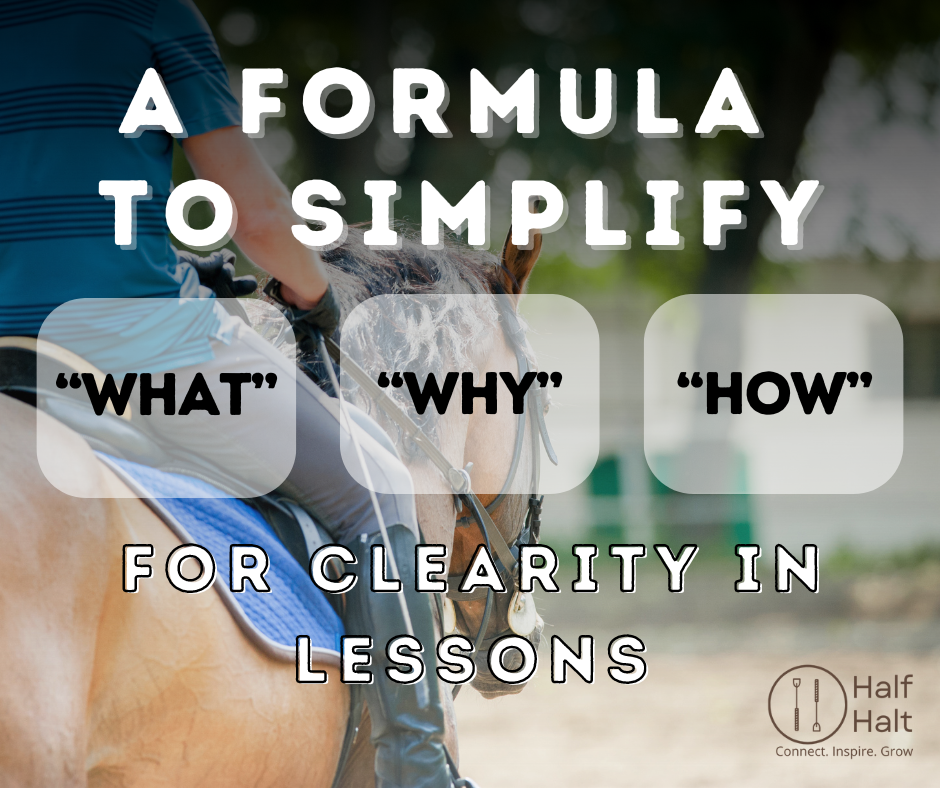
A Formula To Simplify “What, Why, How”
When teaching a new skill, you’ll want to teach the “what”, “why”, and “how”.
Your “what” is what the identified skill or topic is, your “why” would be why it’s important for them to know and the “how” is what the rider will do to make it happen.
The challenge is, many instructors get lost in teaching the “how” and forget the “what” and “why” which is essential for the applied learning.
If you’re getting lost or leaving parts out, try this simple formula to help you cover it all in an organized way.
Step 1: Start your lesson with a brief overview.
“Today we will _(what)_ to help _(why)_.”
You’ll then proceed into a well thought out warm-up before your task analysis of the riding skill. If your warm up is simply a lap or two around the ring you need to check out the article “The Best Lesson Warm-Up” to learn how to build top notch warm-up relevant to your skill. A great warm-up really sets your horse and rider up for the lesson.
Step 2: Task Analysis – Allow your riders to see, hear and do the skill.
Seeing! Show your rider! Demonstrate “what” you want them to do. Give them a visual of the goal. Another rider, a photo, a video or simply act it out from the ground. It’s amazing all the different ways you can ride an invisible horse standing in the sand!
Hearing! Now you demonstrate it again but this time slower with your task analysis, or the “how”. Describe and show the rider changes that take place from start to finish. You can be as simple or detailed as the rider needs. Just make sure you specifically explain the movements of each body part and the order.
Doing! Now it’s time for them to try! This very much could be them doing it independently or them being physically supported by a person or a prop. Once they are doing it, be sure to point out the response or the “why”. You can continue to expand on the “why” by applying it to their overall riding goals.
Step 3: Review – at the end of the lesson, check your riders’ understanding of the “what”, “how” and “why”. If they have a good understanding, you did a great job, but more importantly, they are building skills that they can continue to practice and apply independently.
Providing a clear overview of the lesson’s objective, demonstrating the skill visually, and audibly while facilitating hands-on practice, instructors can ensure that riders not only grasp the “what” and “how” of each skill but also comprehend the “why” behind it. This intentional approach fosters a holistic understanding by accommodating all the learning preferences to empower the riders to confidently apply their new skill.
Once you are in the habit of including your “What, Whys and Hows”, you can expand them in so many directions!